Introduction
In today’s vibrant digital world, a professional website is a must-have for businesses, bloggers, and entrepreneurs! You can create an eye-catching site without coding skills using WordPress, Hostinger, and fantastic templates from Envato or MonsterOne. I’m excited to guide you through building your stunning WordPress website with Elementor Pro for easy customization!

Why Choose WordPress, Hostinger, and Elementor Pro?
1: Benefits of WordPress
- Open-source and free to use.
- Thousands of themes and plugins for customization.
- SEO-friendly and mobile-responsive.
- Secure and regularly updated.
2: Why Use Hostinger for WordPress Hosting?
- Affordable pricing with fast loading speeds.
- One-click WordPress installation.
- Free SSL, domain, and daily backups.
- 24/7 customer support.
3: Why Elementor Pro?
- Drag-and-drop page builder with real-time editing.
- Pre-made templates for faster website creation.
- Advanced design features like motion effects and custom CSS.
- Seamless integration with WooCommerce and third-party plugins.
Step-by-Step Guide to Building Your WordPress Website
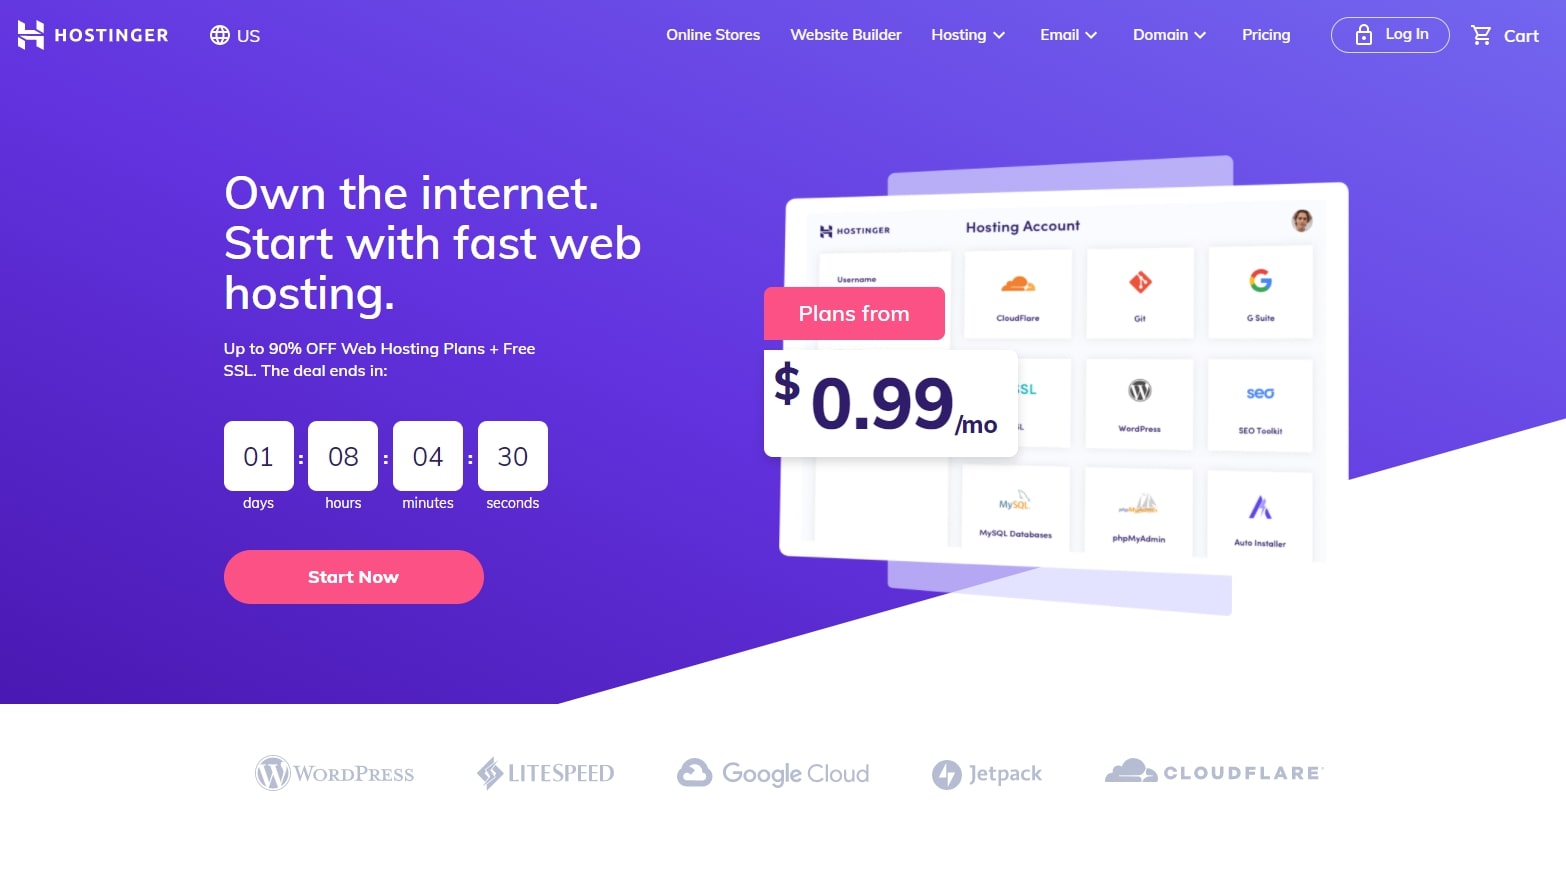
Step 1 – Purchase Hosting and Domain from Hostinger
- Visit Hostinger.
- Choose a hosting plan (WordPress Starter is recommended).
- Register a domain name.
- Complete the checkout process.
- Log into your Hostinger account and install WordPress with one click.
Step 2 – Install a Premium Theme from Envato or MonsterOne
- Visit Envato Elements or MonsterOne.
- Select a premium WordPress theme relevant to your niche.
- Download the theme ZIP file.
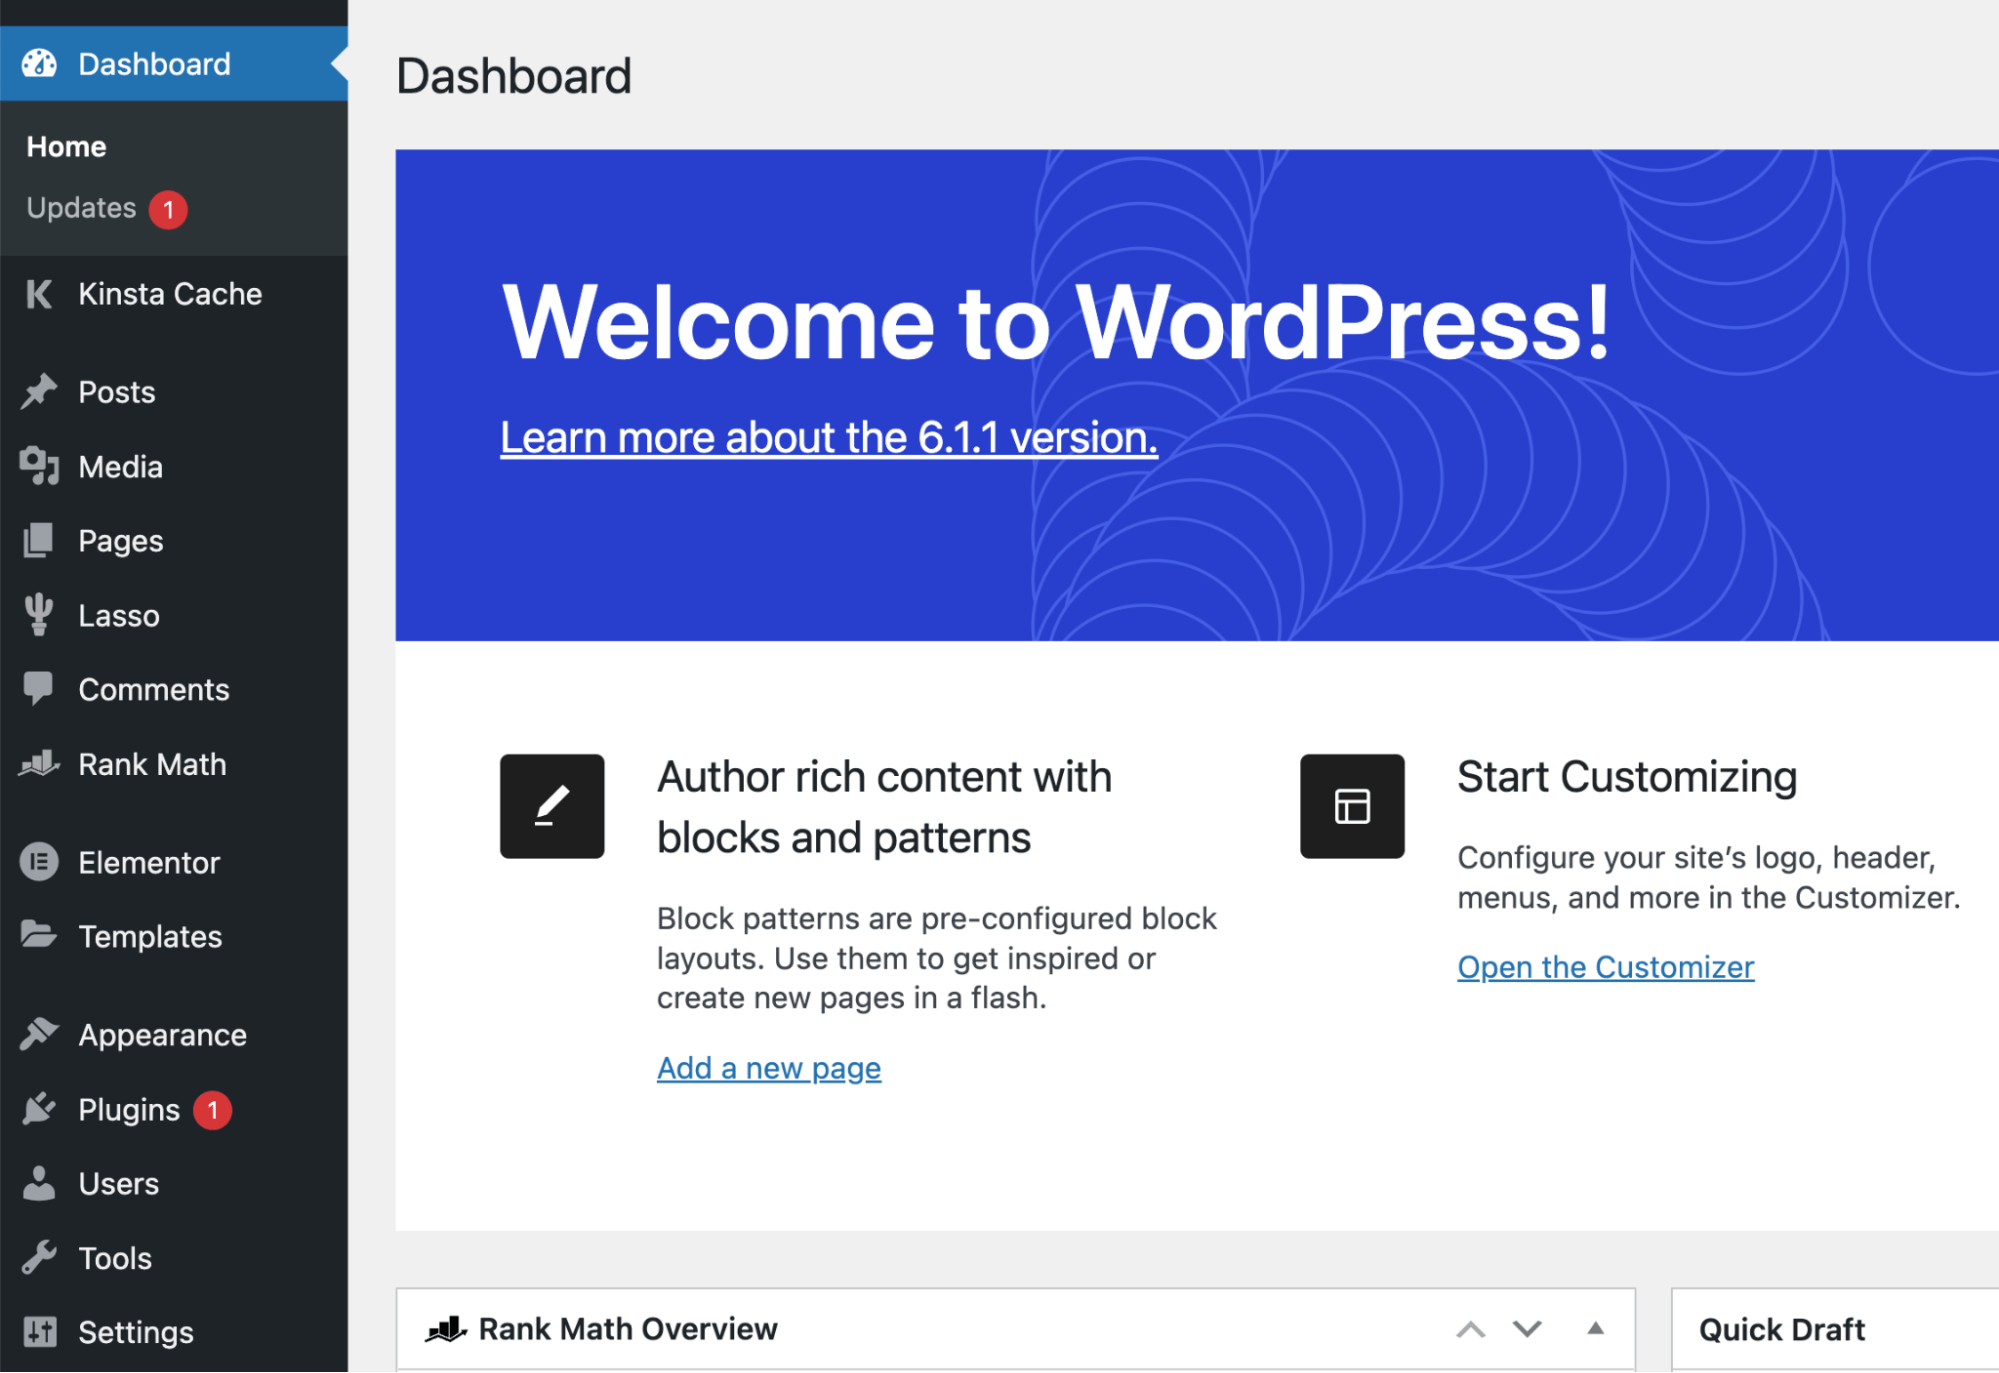
- Go to your WordPress dashboard > Appearance > Themes > Upload.
- Install and activate your theme.
Step 3 – Install and Configure Elementor Pro
- Visit the Elementor website and get Elementor Pro.
- Log in to your WordPress dashboard and go to Plugins > Add New.
- Click Upload Plugin, select the Elementor zip file, and install it.
- Once the installation is complete, activate the plugin.
- Navigate to Elementor > Settings, enter your license key, and connect your account to unlock all premium features.
Step 4 – Customize Your Website with Elementor
- Open any page and click “Edit with Elementor.”
- Choose a template or start from scratch.
- Drag and drop widgets (text, images, videos, buttons, etc.).
- Customize typography, colors, and layout settings.
- Save and preview changes.
Step 5 – Optimize Your Website for SEO
- Install Yoast SEO or Rank Math plugin.
- Optimize page titles and meta descriptions.
- Use proper heading structures (H1, H2, H3) for readability.
- Optimize images with compressed file sizes and alt text.
- Improve website speed using caching plugins like WP Rocket.
Step 6 – Publish and Launch Your Website
- Double-check all pages and content.
- Test responsiveness on mobile and tablet devices.
- Submit your website to Google Search Console.
- Promote your site through social media and backlinks.
Example: A Business Website Built Using These Steps
If you’re building a business website, you can use a theme like “Bridge” from Envato or “Monstroid2” from MonsterOne.
- Homepage: Custom hero section with a call-to-action button.
- About Page: Detailed business description with team images.
- Services Page: List of services with icons and pricing tables.
- Contact Page: Integrated Google Maps and a contact form.


